
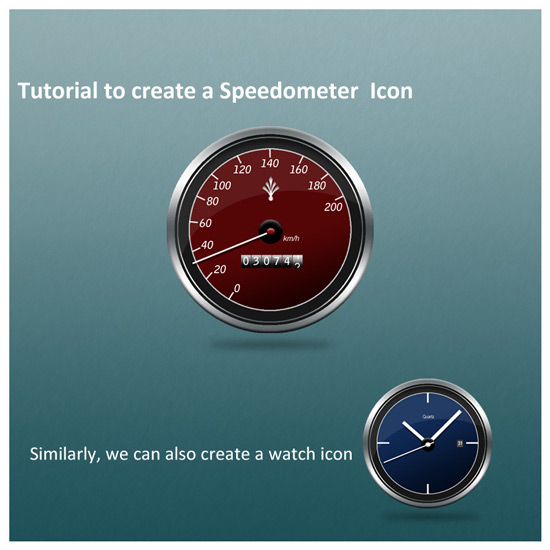
In this tutorial, we’ll create a Speedometer/Gauge icon in photoshop.
Step 1
Create a new document of size 600×600 and with any background color or texture of your size. Here I have used some texture for the background.
Step 2
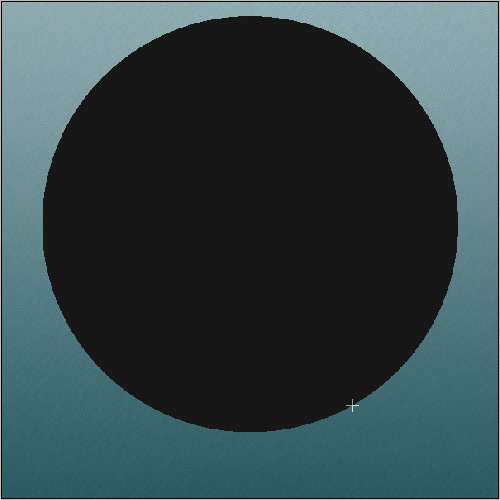
Create a new layer. Draw a circle using the elliptical marquee tool and fill it with #232323 color.
Step 3
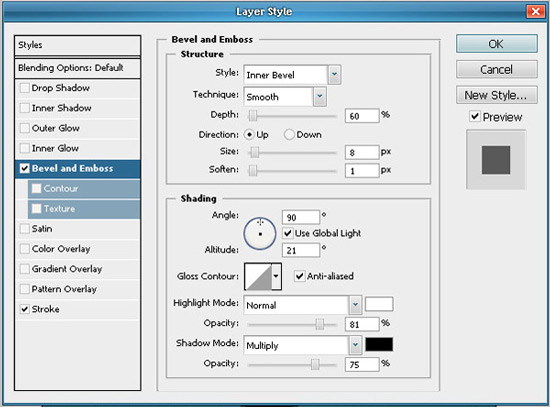
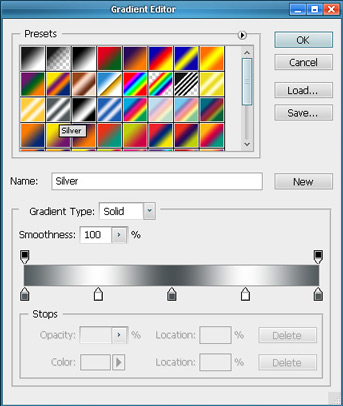
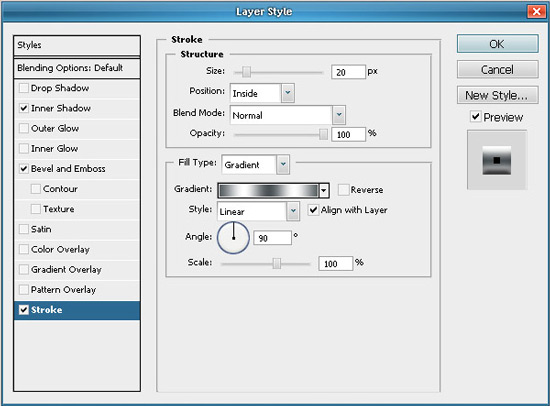
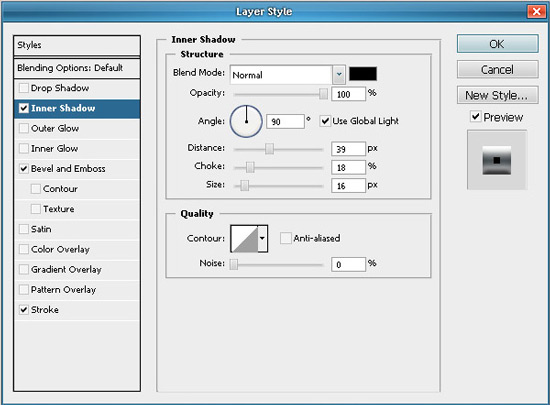
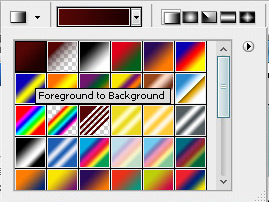
Now open the blending options for this shape and apply the following effects on the layer. Apply a silver gradient to the stroke. This gradient is a preset with photoshop.
Step 4
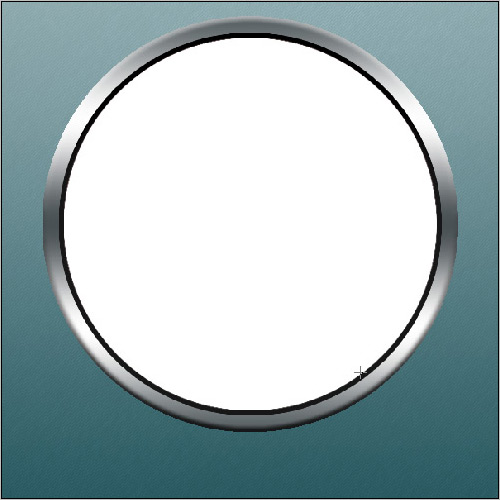
Now draw another circle within the outer circle on a different layer. Fill this layer with any color.
Step 5
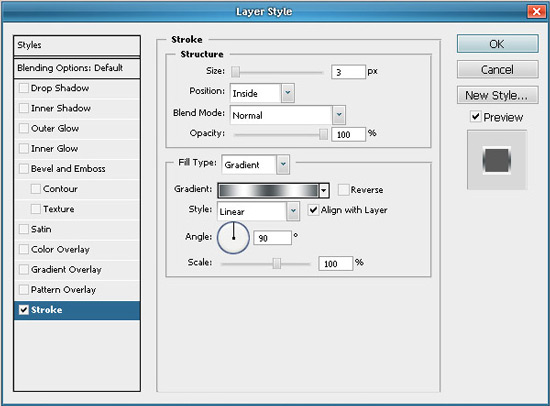
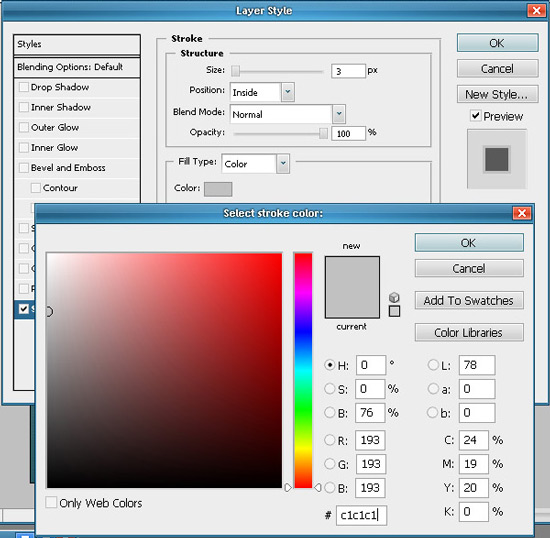
Now apply a stroke to this newly created circle with the below shown settings. Next set the fill for this layer to 0% so that only the stroke for this layer is visible.
Step 6
Again draw a circle on a new layer, above the previous circle, but this time of comparitively smaller size. Apply the stroke settings to this circular layer and fill the layer with a gradient of your choice. Here I have used two dark shades of red. Also apply some stroke to this layer.
Step 7
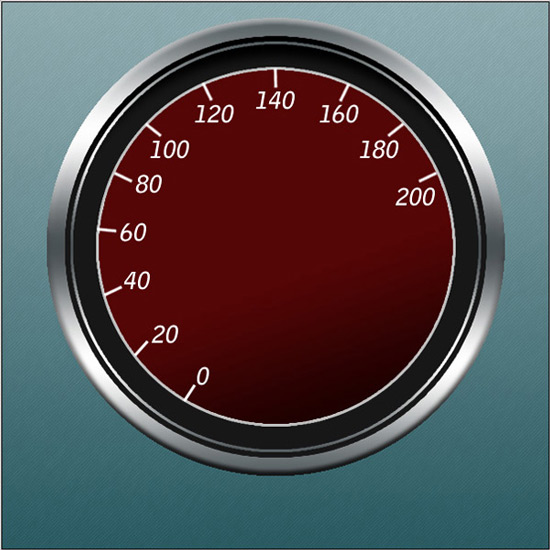
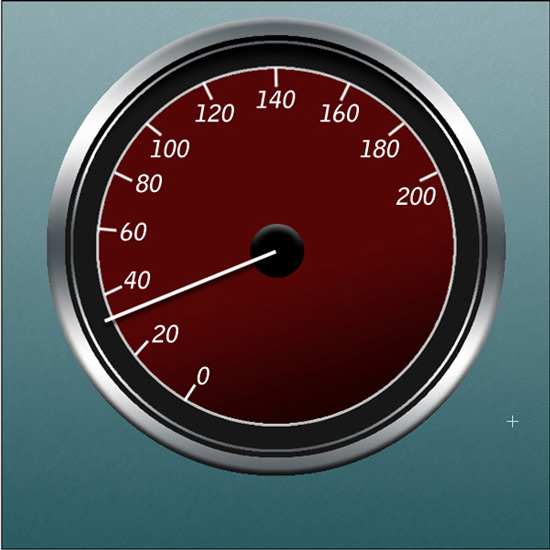
Using the line tool, draw a small line shape of width 3px and foreground color white, for the dial markings of the gauge. also repeat the step to draw as many marking as you want. Corresponding to each mark, add some number, as shown below.

Step 8
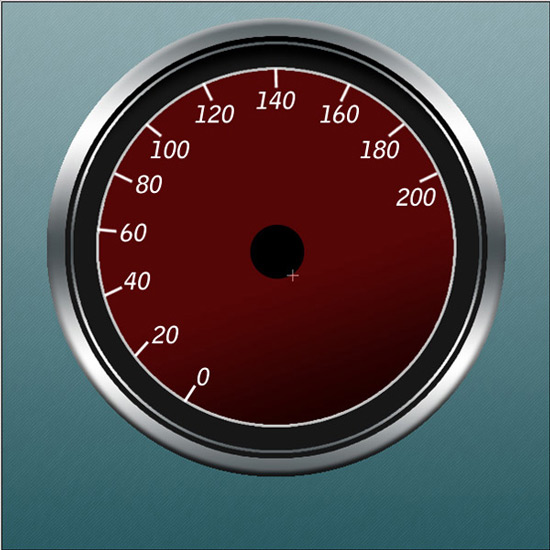
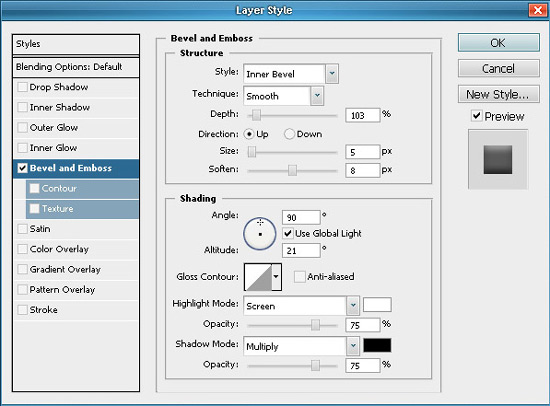
Next draw a small circle in the center and apply the following blending options to it. Also draw the needle for the gauge using the line tool of about 4-5px width. Finally, add some drop shadow to the needle.
Step 9
Similarly create another small circle in the center, above the recently drawn circle. Fill this one with red color and apply the same blending options, as applied to the previous one.
Step 10
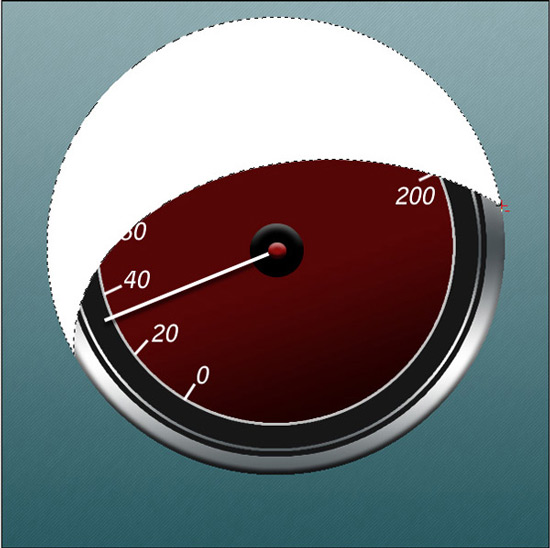
Now using Ctrl+Click, on the thumbnail of the layer, select the outermost circle, that is the bottom most one. Your outermost circular layer will be selected. Now in the toolbar above, select ‘subtract from layer’ option and draw another circle, to give a shape similar to the one drawn below. With the shape selected, create a new layer and fill it with white color.
Step 11
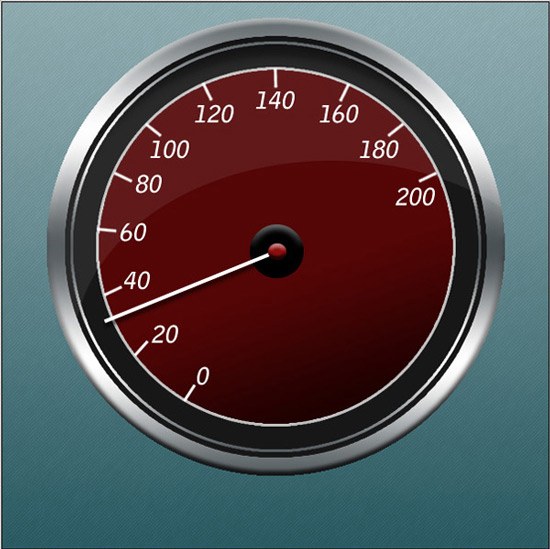
Decrease the opacity of this layer to about 8% to give a effect as shown below.
Step 12
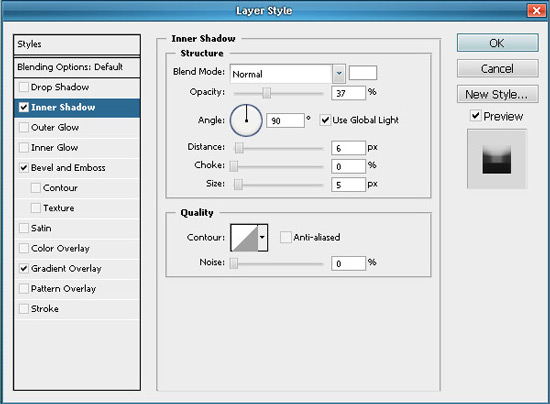
Next for the number display, draw a small rectangle and apply the following blending options to that layer.
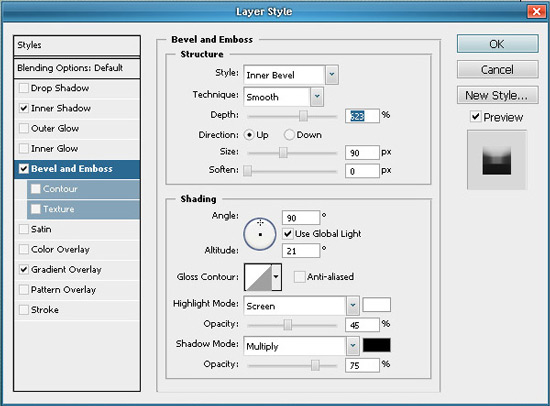
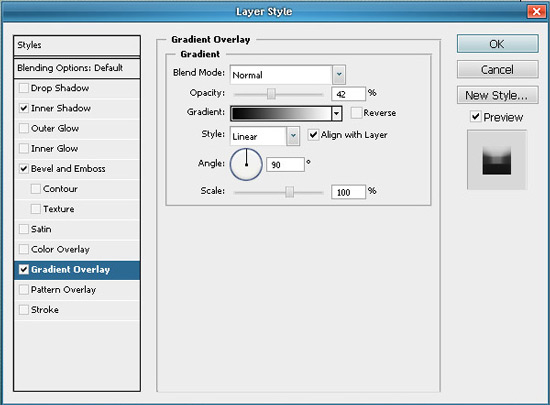
Step 14
Add some text like km/h or mph wherever you like and add some logo or shape on the dial.

Step 15
Next to get the shadow effect, just draw a thin ellipse, crate a new layer and fill it with black color. Gaussian Blur the layer with a value of about 6 and decreae the opacity to about 50%.
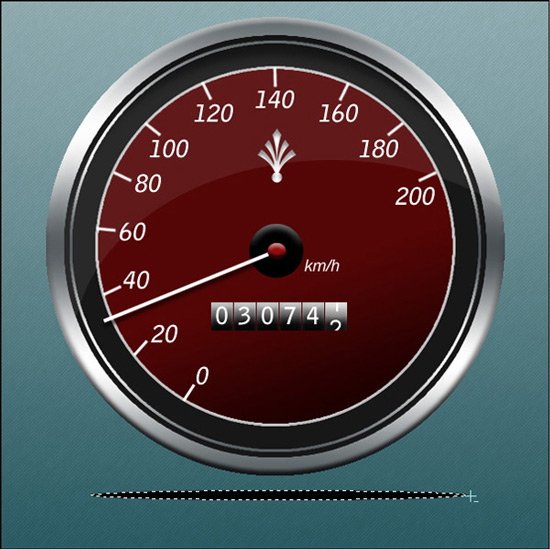
Step 16
In the similar manner you can create a watch also. Just change the number and position of the marks on the dial. Create a 2 more needles, but thick then the previous one. To create the date display, draw a small rectangle on a new layer and apply the following blending options to it.
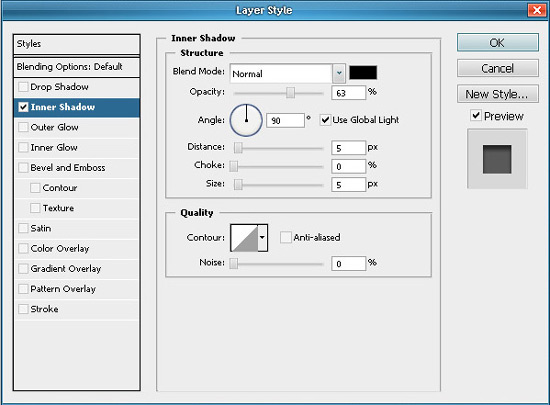
Finally
Here are the two completed icons.


No comments:
Post a Comment